
How to care for clipper blades
I’m going to cover both normal groomers clipper blades as well as horse and cattle blades. I’ll be covering the following topics. You can click on each bit and be taken there.
Now before we begin let’s have a small consideration of what clipper blades are and how they work.
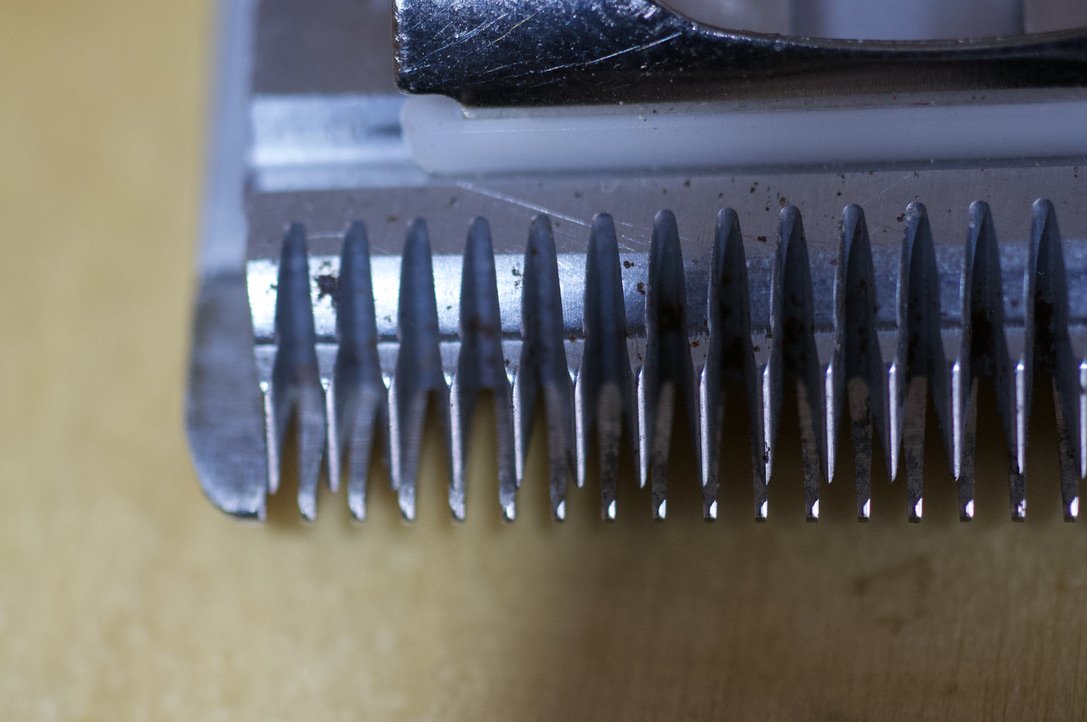
Close up
If you have a really close look at a clipper blade you will see it is basically lots of little fingers which act like scissors. The bottom teeth stay still while the top teeth move side to side. The two sets are pushed together y a spring of some sort.
Both the cutter and comb are normally made from a hardened steel but the cutter can be made from a ceramic material.
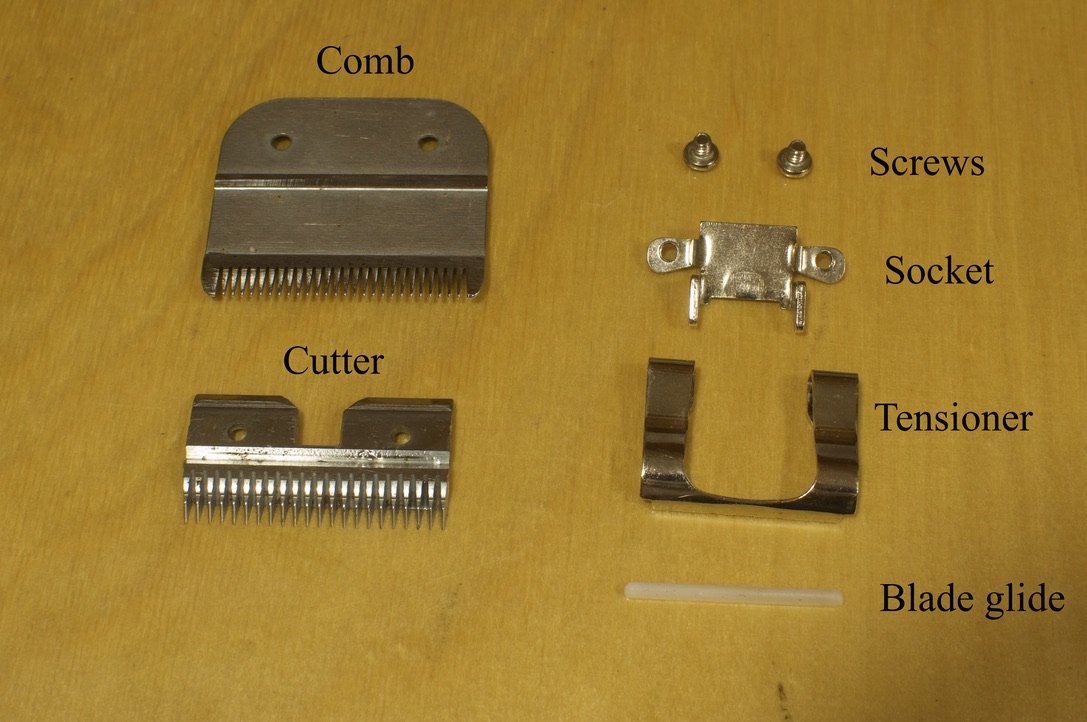
The picture below is the parts of a clipper blade.
Comb = The base of the blade and it is the one part of the blade which is not economical to replace. (Blog post) It has two basic jobs. Firstly it has the fixed row of teeth and it also acts as the chassis of the blade so everything is fixed to it.
Cutter = This is the moving part of the blade which is driven back and forth by the blade drive (Blog post) This has the top half of the cutting teeth. Its normally made of steel but can be ceramic
Tensioner = This pushes down on the cutter and provides the tension in the blade. This can’t be tightened while on the blade.
Blade guide = This acts as a bearing at the end of the tensioner and stops metal to metal contact between the tension and the cutter. But this doesn’t remove the need for lubrication
Socket = This is where the blade clips onto the clipper. It also holds the tensioner down onto the comb.
Screws = These hold the whole lot together by going through the comb and screwing into the blade socket. These don’t adjust the blade tension
Using clipper blades
Clean coats
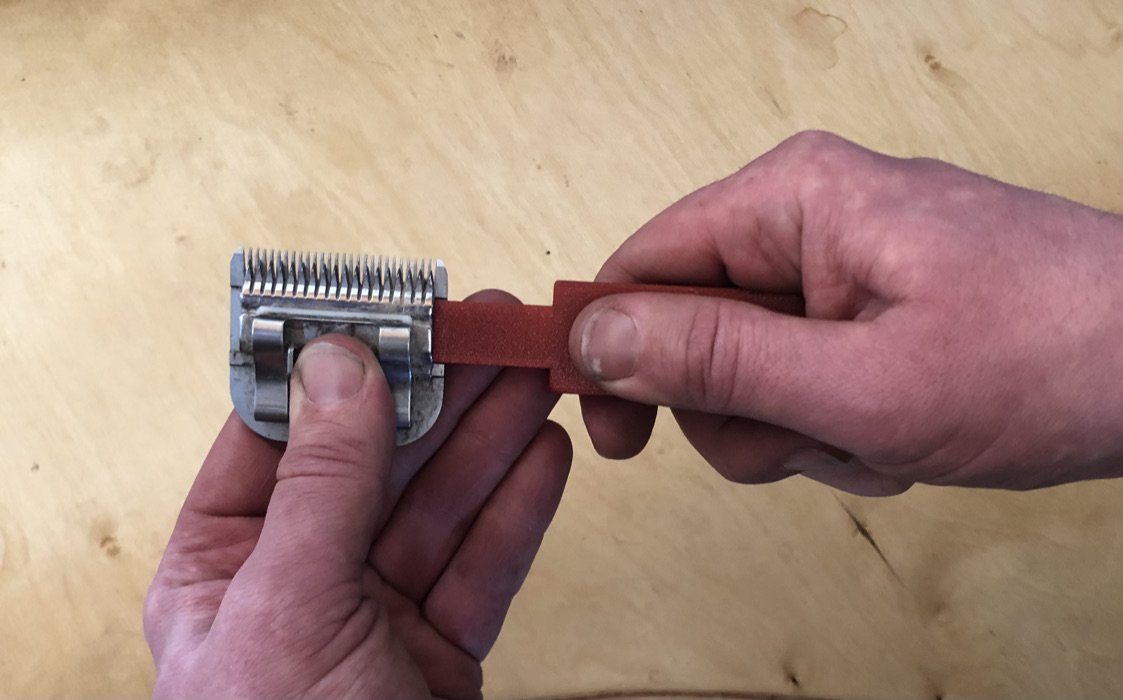
For sharpening clipper blades I use a plate covered in grit. It’s a bit more complex than that but the crucial bit is the grit. If you are clipping dirty hair then it will be full of grit and dirt and this will take the sharp edges off a blade very quickly. Groomers are unlikely to come across this issue as they will be washing a dog before clipping them but it’s a bit more difficult to wash a horse or a cow
Lubrication
As clipper blades are a mechanical mechanism then they need lubrication like anything else mechanical. You wouldn’t run your car without oil so why would you do this to clipper blades?
Like a car then you need to choose the right oil. I am not going to recommend any particular brand you can all use google. However I do have some reservations about oils that come in a aerosol can as to get it to work they will need some sort of propellant and it is difficult to control the amount of oil that comes out. So buy the stuff that comes in a bottle
Alot of these bottles come with an nozzle for putting oil onto a clipper blade. For horse/cattle blades these are about the right size. For groomers they are a wee bit big and if it is hard to use, you won’t use it. I use a needle bottle applicator. Again i’m not going to recommend a brand but you can search for them. You want to aim for ones about 30ml.

Needle bottle I use for oiling
Good for scissors also
WD40 - IT’S NOT AN LUBRICANT!!!! it is a water dispersant. It’s brilliant at cleaning and protecting stuff. Utterly gash at lubricating. So please stop using it on your clipper blades.
A lack of oil will lead to worn blade guides and overheating. This will lead to premature wear on your blades and clippers as well as the blades going blunt quicker. Oil the blades in the areas highlighted in yellow. Too much oil is better than not enough. After oiling put the blade onto the clippers and run for about 10 seconds. Then using some kitchen roll or similar remove the excess oil. Do this about every 15 minutes or each time you swap onto a new blade. Once a day really isn’t enough

For horse and cattle clippers I’d drop this down to every ten minutes and if you consult the user manual for the clippers it will tell you where to oil as there will be holes in the top of the body above the blade for applying oil as well as some oil onto the teeth.
For my hire clippers I supply a small bottle of oil which is the right amount for one horse.
Blade coolants
Two ways to remove heat from something. One is to use a large thermal mass and to use this to pull away the heat. The other is to evaporate a volatile liquid. Seeing that blade coolant comes in a small squirty can then it isn’t the first one. Typical liquids todo this will be ethanol or propanol which are alcohols which are pretty much the same stuff that I will be using for degreasing. These will strip off any oil you have added to the blade. These are acceptable if you use oil afterwards but i’m not a fan.
If your blades are getting very hot then either it is a lack of lubrication or too much tension. If you are a dog groomer then swap to another blade of the same size. If you’re doing a horse then stop and lubricate the blade and let the clipper it’s self cool down.
Cleaning
Of course for cleaning a blade I highly recommend a Barras 3D blade push which is available HERE
Cleaning your blade at the end of the day will help to extend your blade life. In the short term especially with horse hair this can build up between the comb and the cutter which will stop the clipper from cutting. With Grooming blade it can build up to the point where you will struggle to get the blade onto the clipper. And it will generally be a bit gross
In the longer term the hair will break down into a mush and then a varnish which will build up on the teeth and the blade guide which will make the blade more likely to overheat and make it blunt more rapidly.
In use cleaning
For a quick and dirty clean you can use some form of blade wash. This can be as simple as some soap and water, a proper blade wash or some H-42.
For all of these put the blade onto the clipper start it up and place just the teeth into the cleaner. Not the entire clipper but it you are using a mains powered one you won’t make that mistake twice. Then take it out with the teeth still pointing down and then stop the machine and clean off the excess. Then lubricate the blade as most cleaners will strip away the oil
The Soap and water isn’t the best but it will do the job just make sure you dry the blades and LUBRICATE
For blade cleaners the same applies clean, dry and lubricate. As I’m on the border of Angus I will recommend Superfine products who are made just down the A90 in Forfar.
The H-42 is mostly a USA based product but you can buy it here in the UK in various places including via myself if you ask as I know one of the importers.
End of day cleaning
This is a good chance for you to have a real good look at your blades. While you are doing this you want to have a look for odd marks, discolouration, loose parts, missing teeth, missing blade guides.
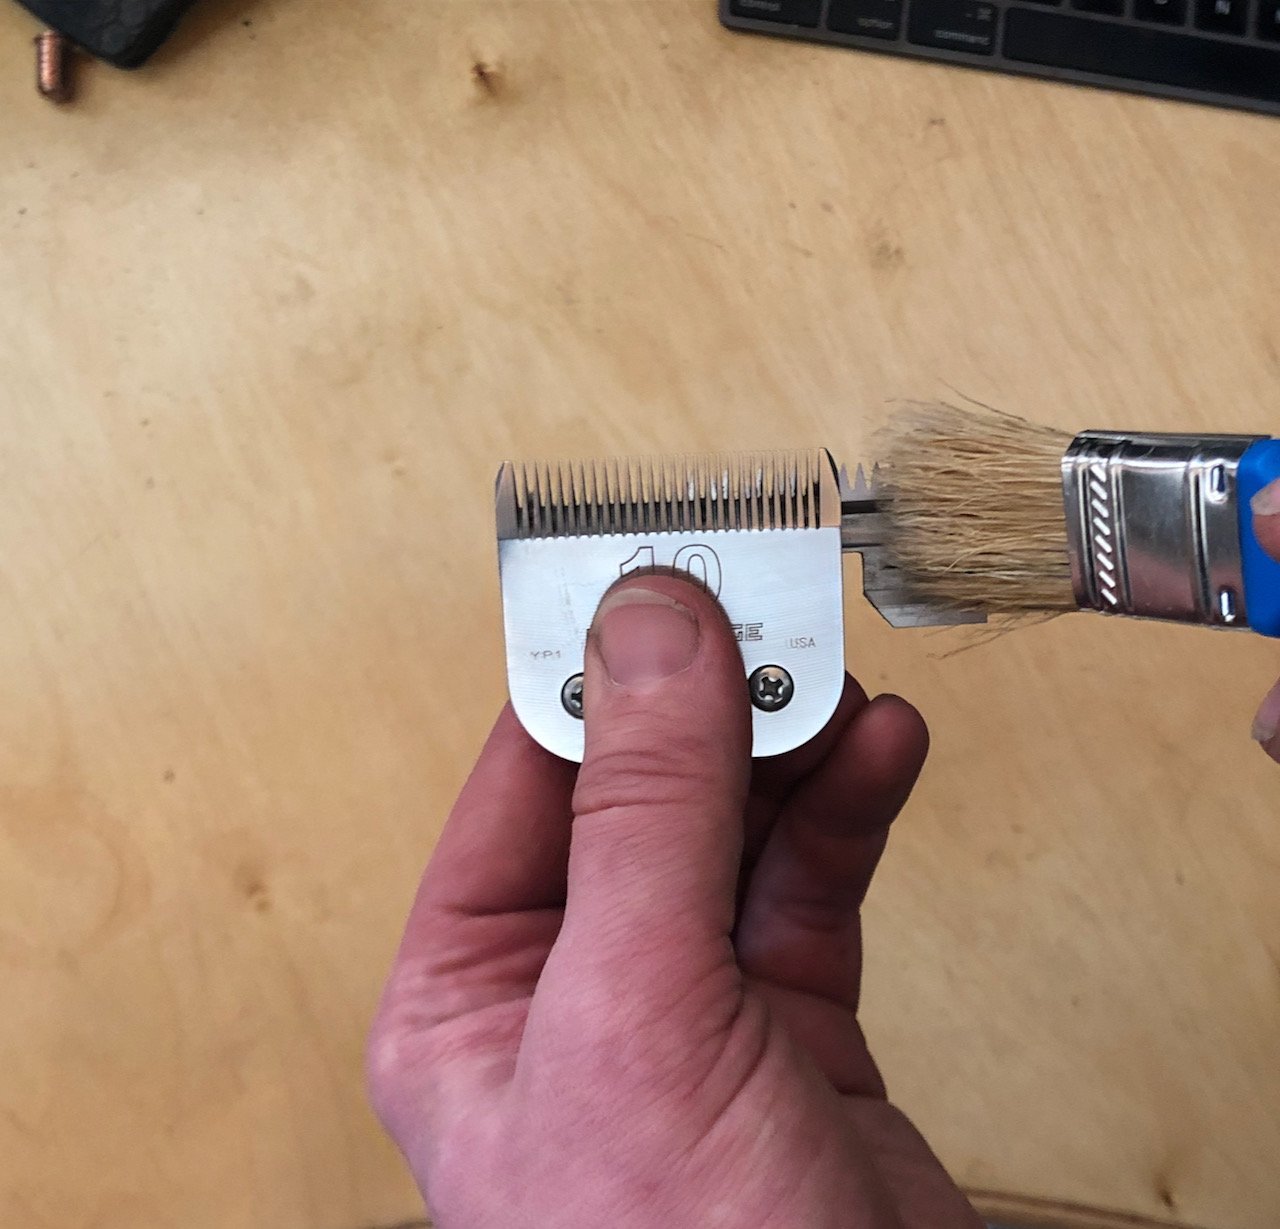
For cleaning out the hair etc from the blade then I recommend using a toothbrush or a paint brush. However if you are a busy salon with lots of blades at the end of the day from a couple of groomers maybe consider this blogpost
This has been copied from this page as I’ve got the pictures uploaded already and the tool can be bought online from my shop
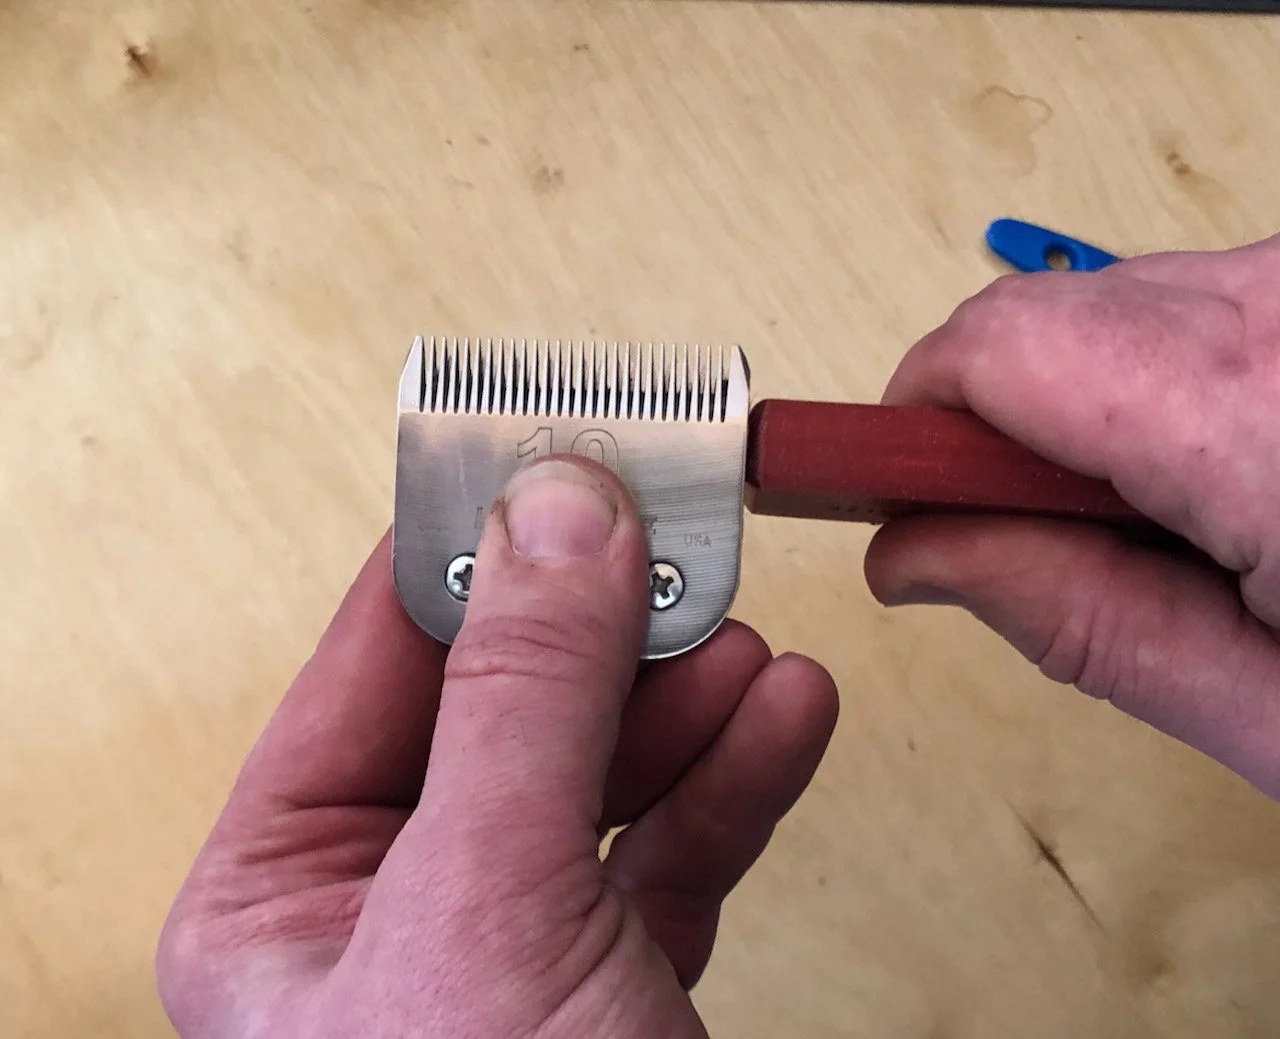
Step 1
Line up the blade of the blade push with the cutter on your blade. Keep it between the two shiny bits (rails and teeth)
And with your other hand hold the blade by the blade socket.
You can hold it the other way around for the left handed out there

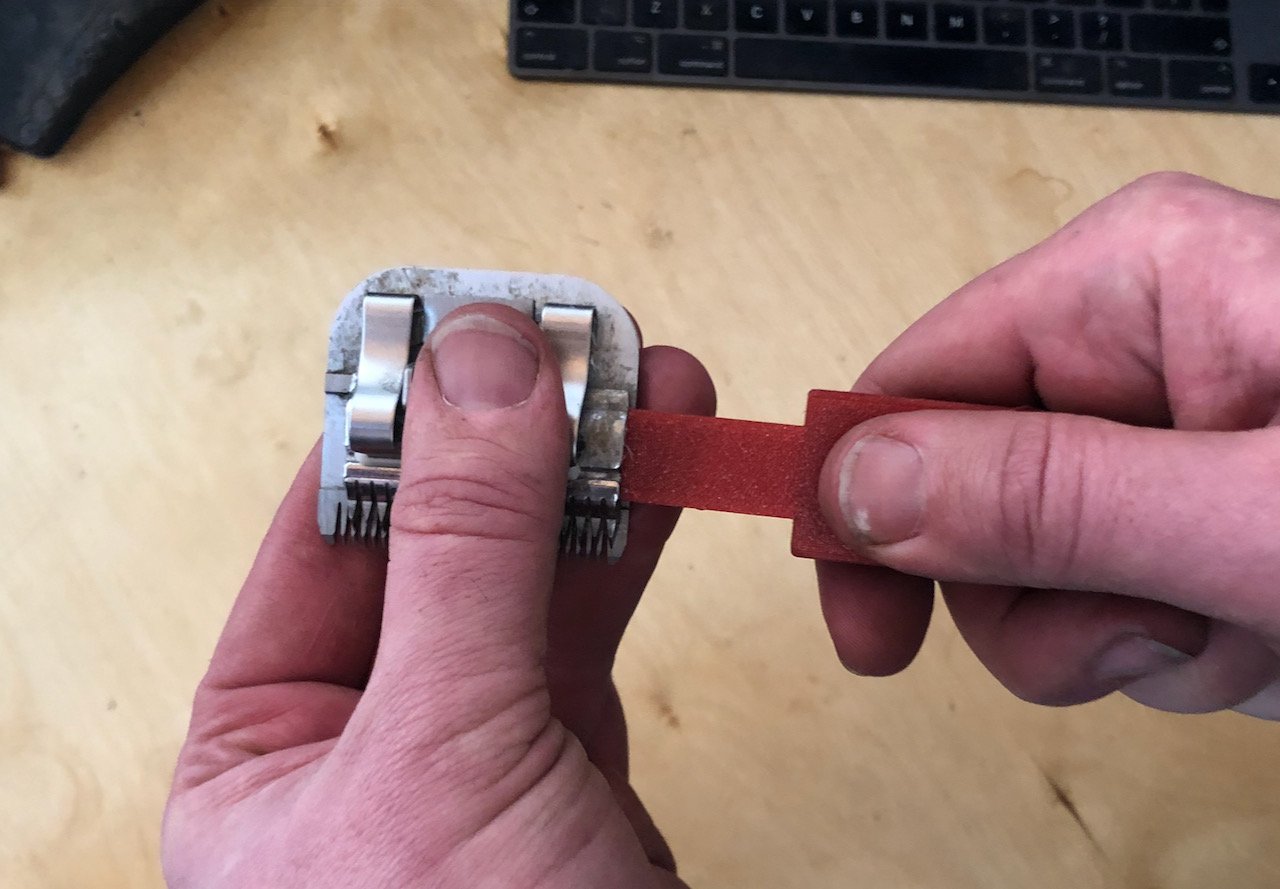
Step 2
Push the cutter across until the blade push comes against the side of the comb.
This should allow you enough room to get to the back of the cutter and the comb.
This is a good time to look along the teeth to make sure none are damaged.

Step 3
Brush away whatever dirt or hair is hiding under here.
You can use a paintbrush, a tooth brush or even an airline
Step 4
Flip the blade over and clean under the cutter.
This is a good time to oil the blade with a small drop of oil on the shiny bits
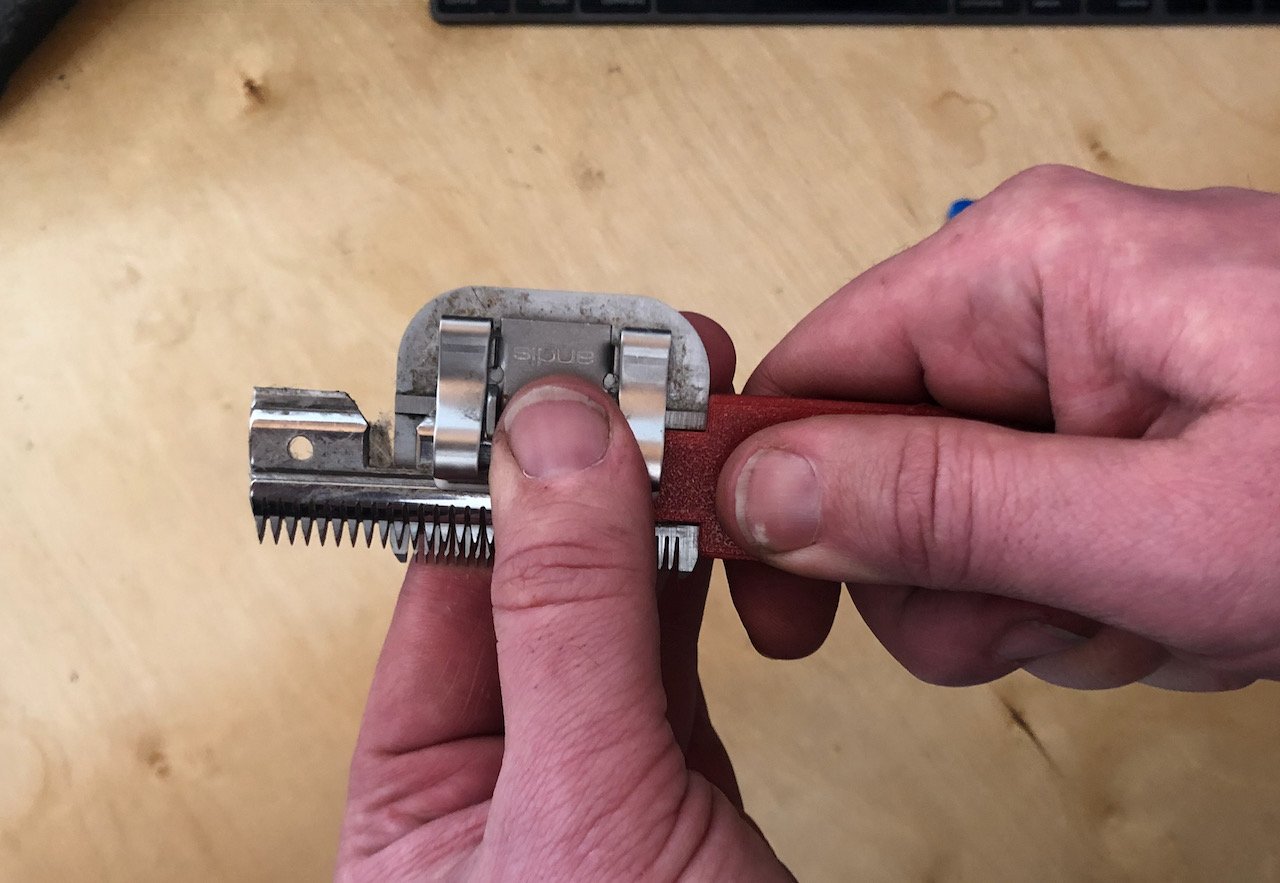
Step 5
Using the blunt end of the blade push.
Push the cutter back in
Step 6
With the teeth pointing towards you hold the blade with your thumb on the blade socket.
Then as per step 1 line the end of the blade with the cutter between the two shiny rails.
Step 7
Push the blade across until the blade push hits the side of the comb.
Clean off the dirt and hair as above
Inspect the teeth to ensure they are all there
A few drops of oil won’t hurt
Storage and management
Groomers
Your blades are what make you money so you want to store and manage them well.
At the end of the day you want to clean, dry and lube your blades ready for the next day. Leaving them damp and hairy will bite you.
I would also advice a change in mindset about clipper blades. You consider them as a tool but I think it would be better if you also considered them as a consumable. As in you need to make allowances of how you and your business will consume them. You will make sure you don’t run out of shampoo unexpectantly so you should do the same for blades.
Don’t have a big box of blades of random ages, sizes and condition all thrown together as you’ll reach the point where you suddenly you have no working blades in your favoured size. As you’ll be cancelling grooms.
Ideally you’ll have 3 separate storage cases (Harley’s 3D make boxes in seperate colours which are ideal for this)
One for new and freshly sharpened blades
One for blades in use
One for blunt blades
You then can quickly eyeball each box to see what you have. When you don’t have your favourite blade in the new box then you can hand the blunt box to a sharpener or buy some new ones.
Yes you will end up having at least 3 of each of your common blade size but as I said above, have the consumables mindset.
I would also have a serious consideration in keeping a couple of brand new blades sitting in their packets as if your sharpener makes a mess of sharpening your blades then you have a back-up. I all too often get given all of a groomers blades to sharpen.
What if I screw them up?

Where you don’t want to end up
What if they are end of life?
There is no right or wrong way of doing this if it works for you. If you suddenly find you have no blades in your favourite size and you are pushing a sharpener to come in ASAP as you are cancelling grooms then you have had a breakdown in the system not a breakdown in your blades. I am quite good with systems and planning so don’t be afraid to have a chat. I made one of my tree surgeon customers life massively easier by simply adding green cable ties to sharpened chains as then all he had todo was to count green cable ties to know how many chains he had that were good instead of sorting through a pile of chains at the end of the day.
Horses
End of the season don’t chuck them in a cardboard box wet and hairy and forget about them until Autumn as you’ll be joining the line of folk waiting for me to sharpen their blades and repair their clippers after they did the same.
Ideally send them off to get sharpened as a decent sharpener will return them ready for storage
but if not
Take them home and give them a real good clean including the one mounted on your clippers
WD40 is really good at cleaning them clean off the hair and oil and inspect for broken teeth
Take some kitchen roll and place the comb (big bit) on this and give it a good spray of WD40 then fold the kitchen roll over it and then place the cutter on top then another quick squirt of WD40. Wrap the blade up fully and then shove into a freezer bag to keep the moisture out.
Ideally store somewhere warm and dry so that rust doesn’t form.

Ready for storage
A pile of clipper blades sent in after clipping season.
Freshly sharpened and then covered in WD-40 and kitchen roll so then can stay fresh until October
Further reading
This is not the only page on the internet about this but i hope it is one of the better ones
So a few links to further reading which are in no particular order please drop me a line if you know of some good resources online