
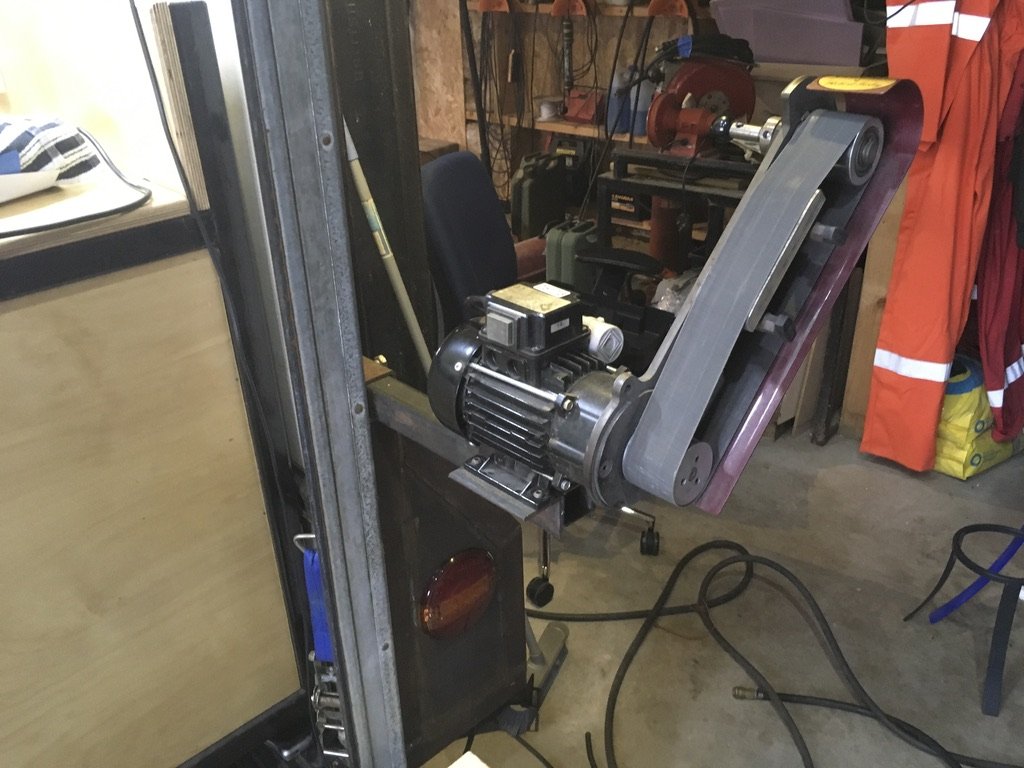
The Robert Sorby Pro-edge
Not part of the original plan for barras blades but after talking to other sharpeners it appears it would be a worthwhile investment.
It is a small belt grinder which uses various belts with an abrasive coating which can be used for removing metal or polishing dependent on the size of the grit.
Belt technology has recently come along in big leaps. Before the finest belt you could get would be maybe a 360 grit which is still a reasonably rough finish. the Tormak standard wheel is 220 or 1000 after you have refaced it. I would normally be using it as a 1000 grit for knife sharpening and I am getting excellent results.
With the new Trizact belt technology you can get a 3000 grit which gives a 2 micron finish which is the same finish on a disposable razor. This combinded with the polishing mops I can get knives to a levels of sharpness which mean you can shred newspaper with ease. Where as the Tormek gives a flat bevel edge the Sorby gives a convex grind which some people prefer and some knives such as a global come from the factory with.
The normal way to secure the Sorby for mobile use is to screw it to a piece of wood and then that is secured to the bench top with some clamps.
I took a different route.
The Sorby went on a crash diet to shed everything that it didn’t really need.
Then it was fixed onto a new mounting plate which is then welded to a piece of 40mm box which fits into the hard point system i’ve fitted to the trailer.
The Sorby is not just a knife sharpening tool.
It comes from a British company called Robert Sorby who make high end wood working tools. So it is just as at home with sharpening chisels and turning tools. You can purchase various jigs etc for the standard machine.
Read more about the history of Robert Sorby HERE
However seeing that the jigs are reasonably simple I felt it was time to get the fab shop up and running.
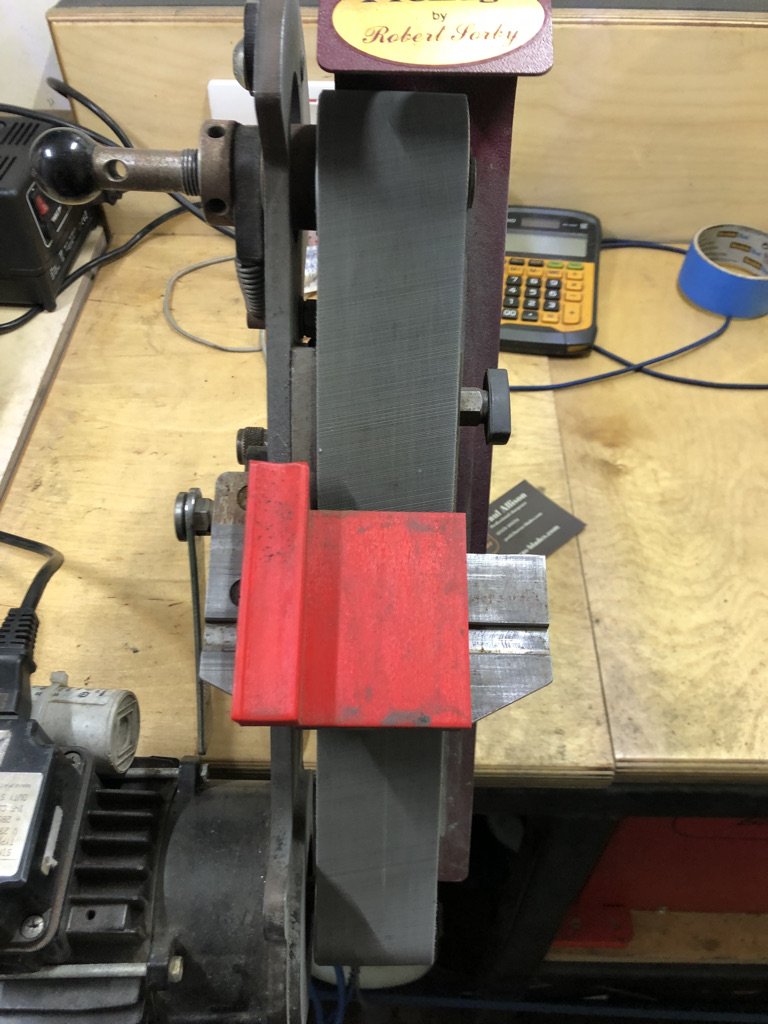
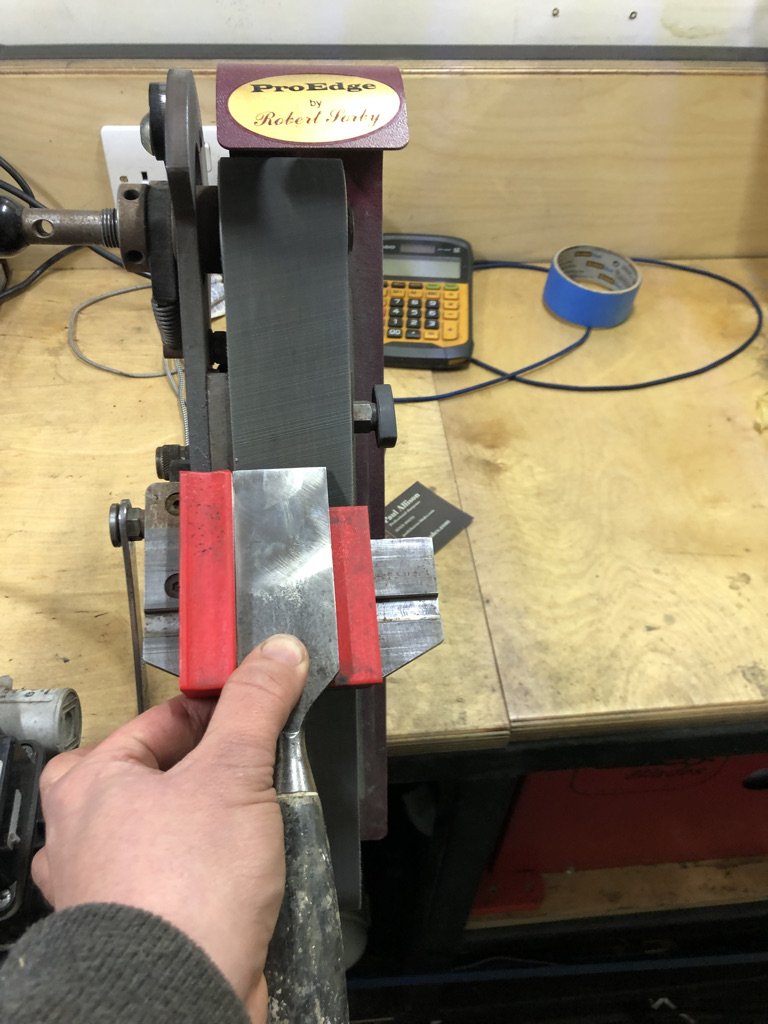
The first home made tool was a raised platten which gives a section of un-supported belt which is excellent for sharpening of knives as well as gardening tools etc.
Then a customer dropped off some wood turning chisels which he had attempted to sharpen himself on a bench grinder freehand. This lead to a somewhat rapid development of a set of three jigs for sharpening gouges and Skew chisels.
These have slowly been developed and refined into a full range of jigs and a small 3D printing business.
The jigs can be purchased from here as UK sharpening school have far more market penetration than myself as well as having everything in place to distribute them.
The 3D printing business is barras 3D and you can find them up in the menu

Gouge V-block
This is the V-block for sharpening standard wood turning gouges
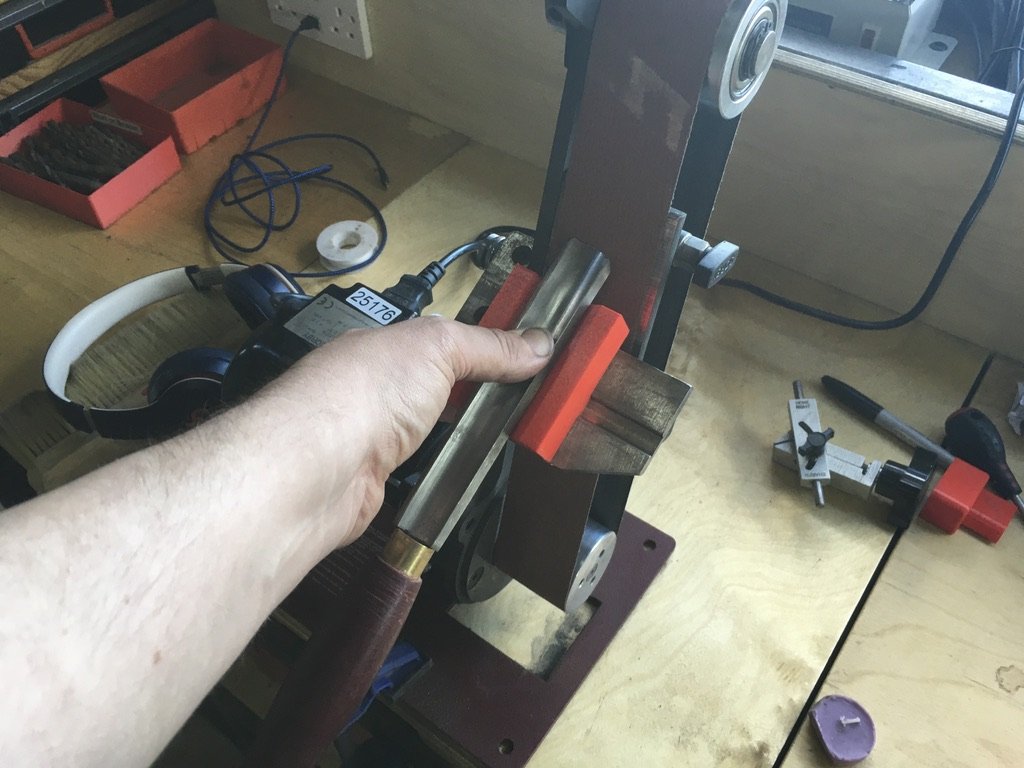
Use it the same as a standard V-block with you rolling the gouge to get an even grind.
This isn’t for fingernail gouges you’ll need a different jig for this which i haven’t made (yet)

Skew chisels
A left and a right hand jig for doing the two faces of a skew chisel

Set the platform to the angle of the tip of the chisel.
Then using the left and right jigs sharpen either side of the chisel keeping the point in the middle. Once you get one in your hands it will become very obvious
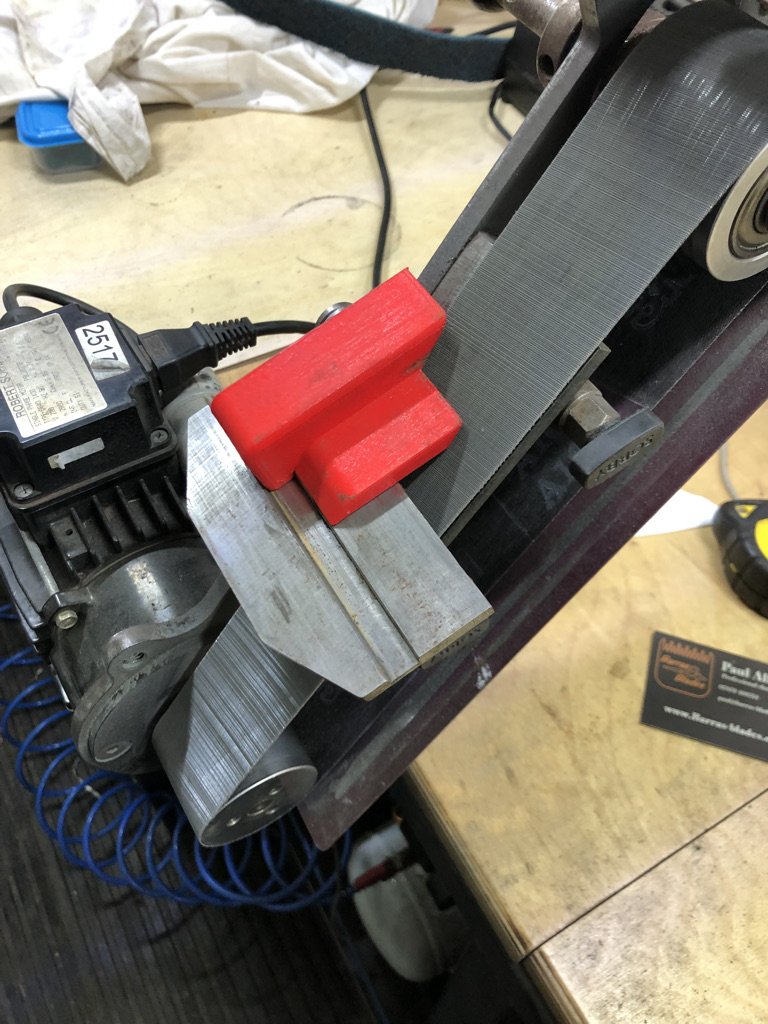
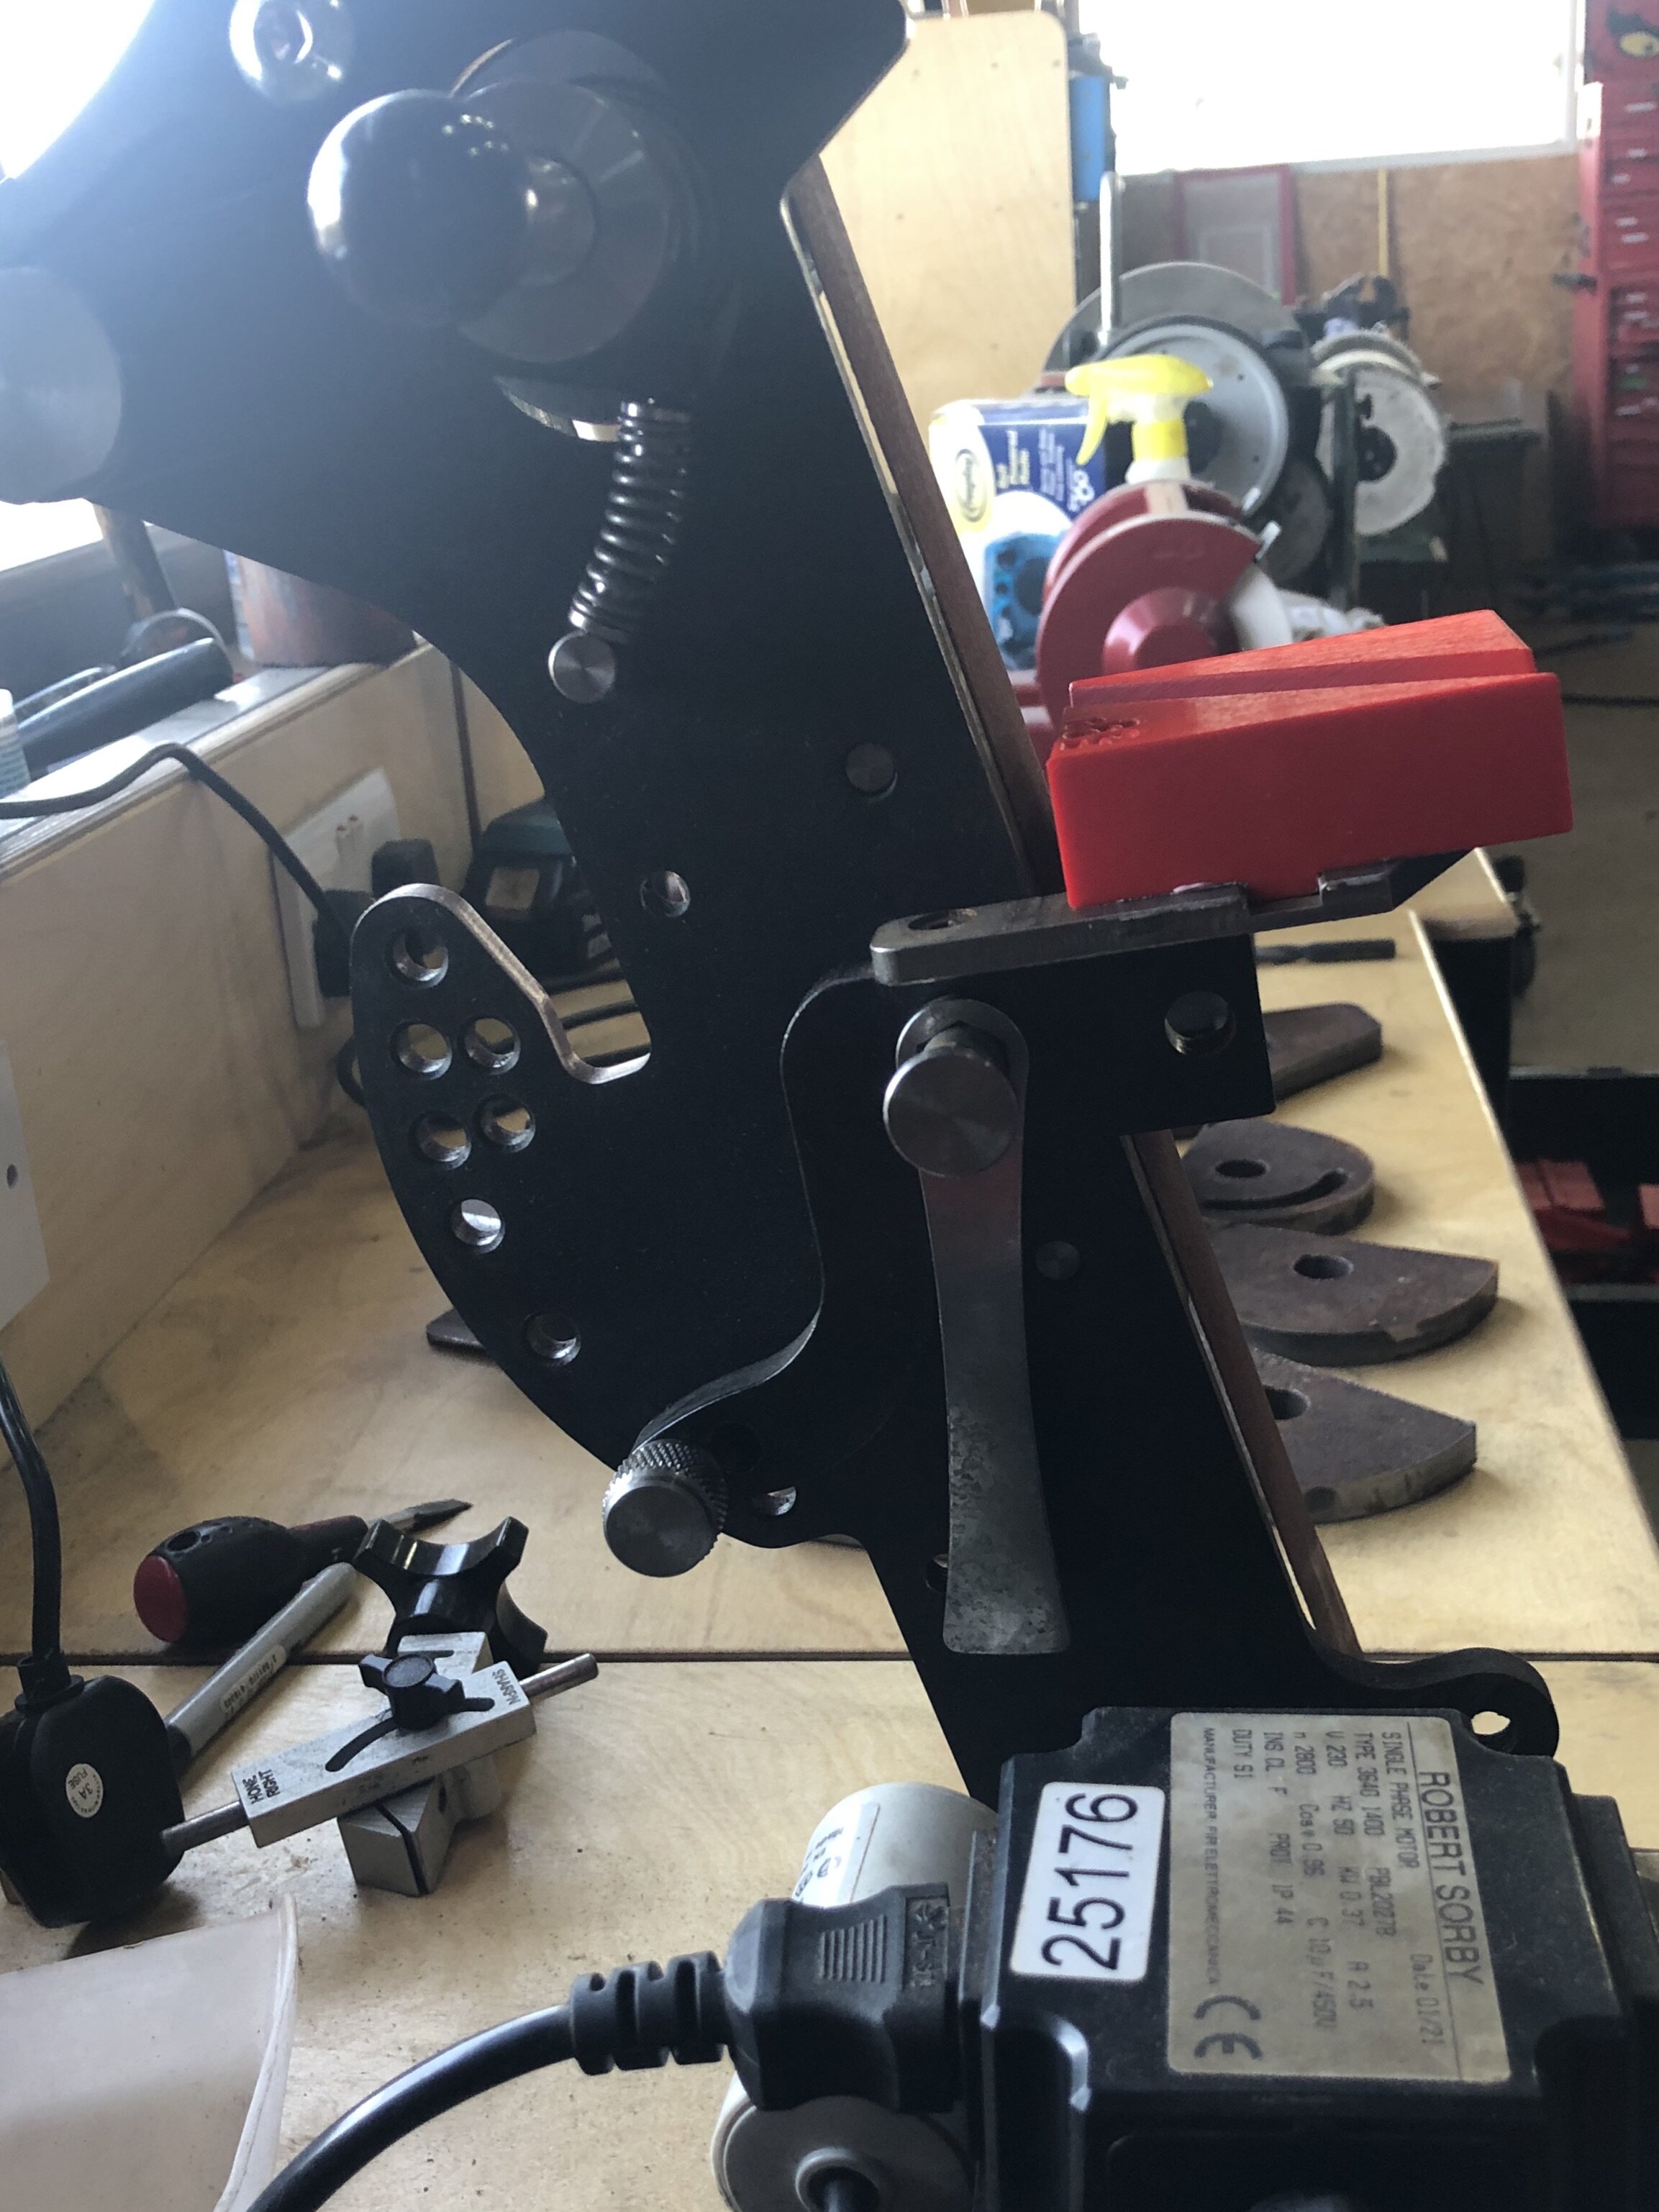
Stubby chisel jig
A jig made to solve an issue with a short stubby chisel which wouldn’t sit nicely on the platform as the handle was impacting and changing the angle.
I designed this which developed into the current version which extends closer to the belt.
This shows the basic way to use it. Needs a wee bit of care to keep it in the slot but it doesn’t need to much experience to get the knack
Plane/Chisel jig
The standard jig tends to leave scratches in the front of the chisel as you slide it back and forth. So i knocked up a jig to stop this.
I suffer from an odd form of laziness where i’ll design or build something to save me a tiny amount of time
This one is pretty self explanatory in how to use it
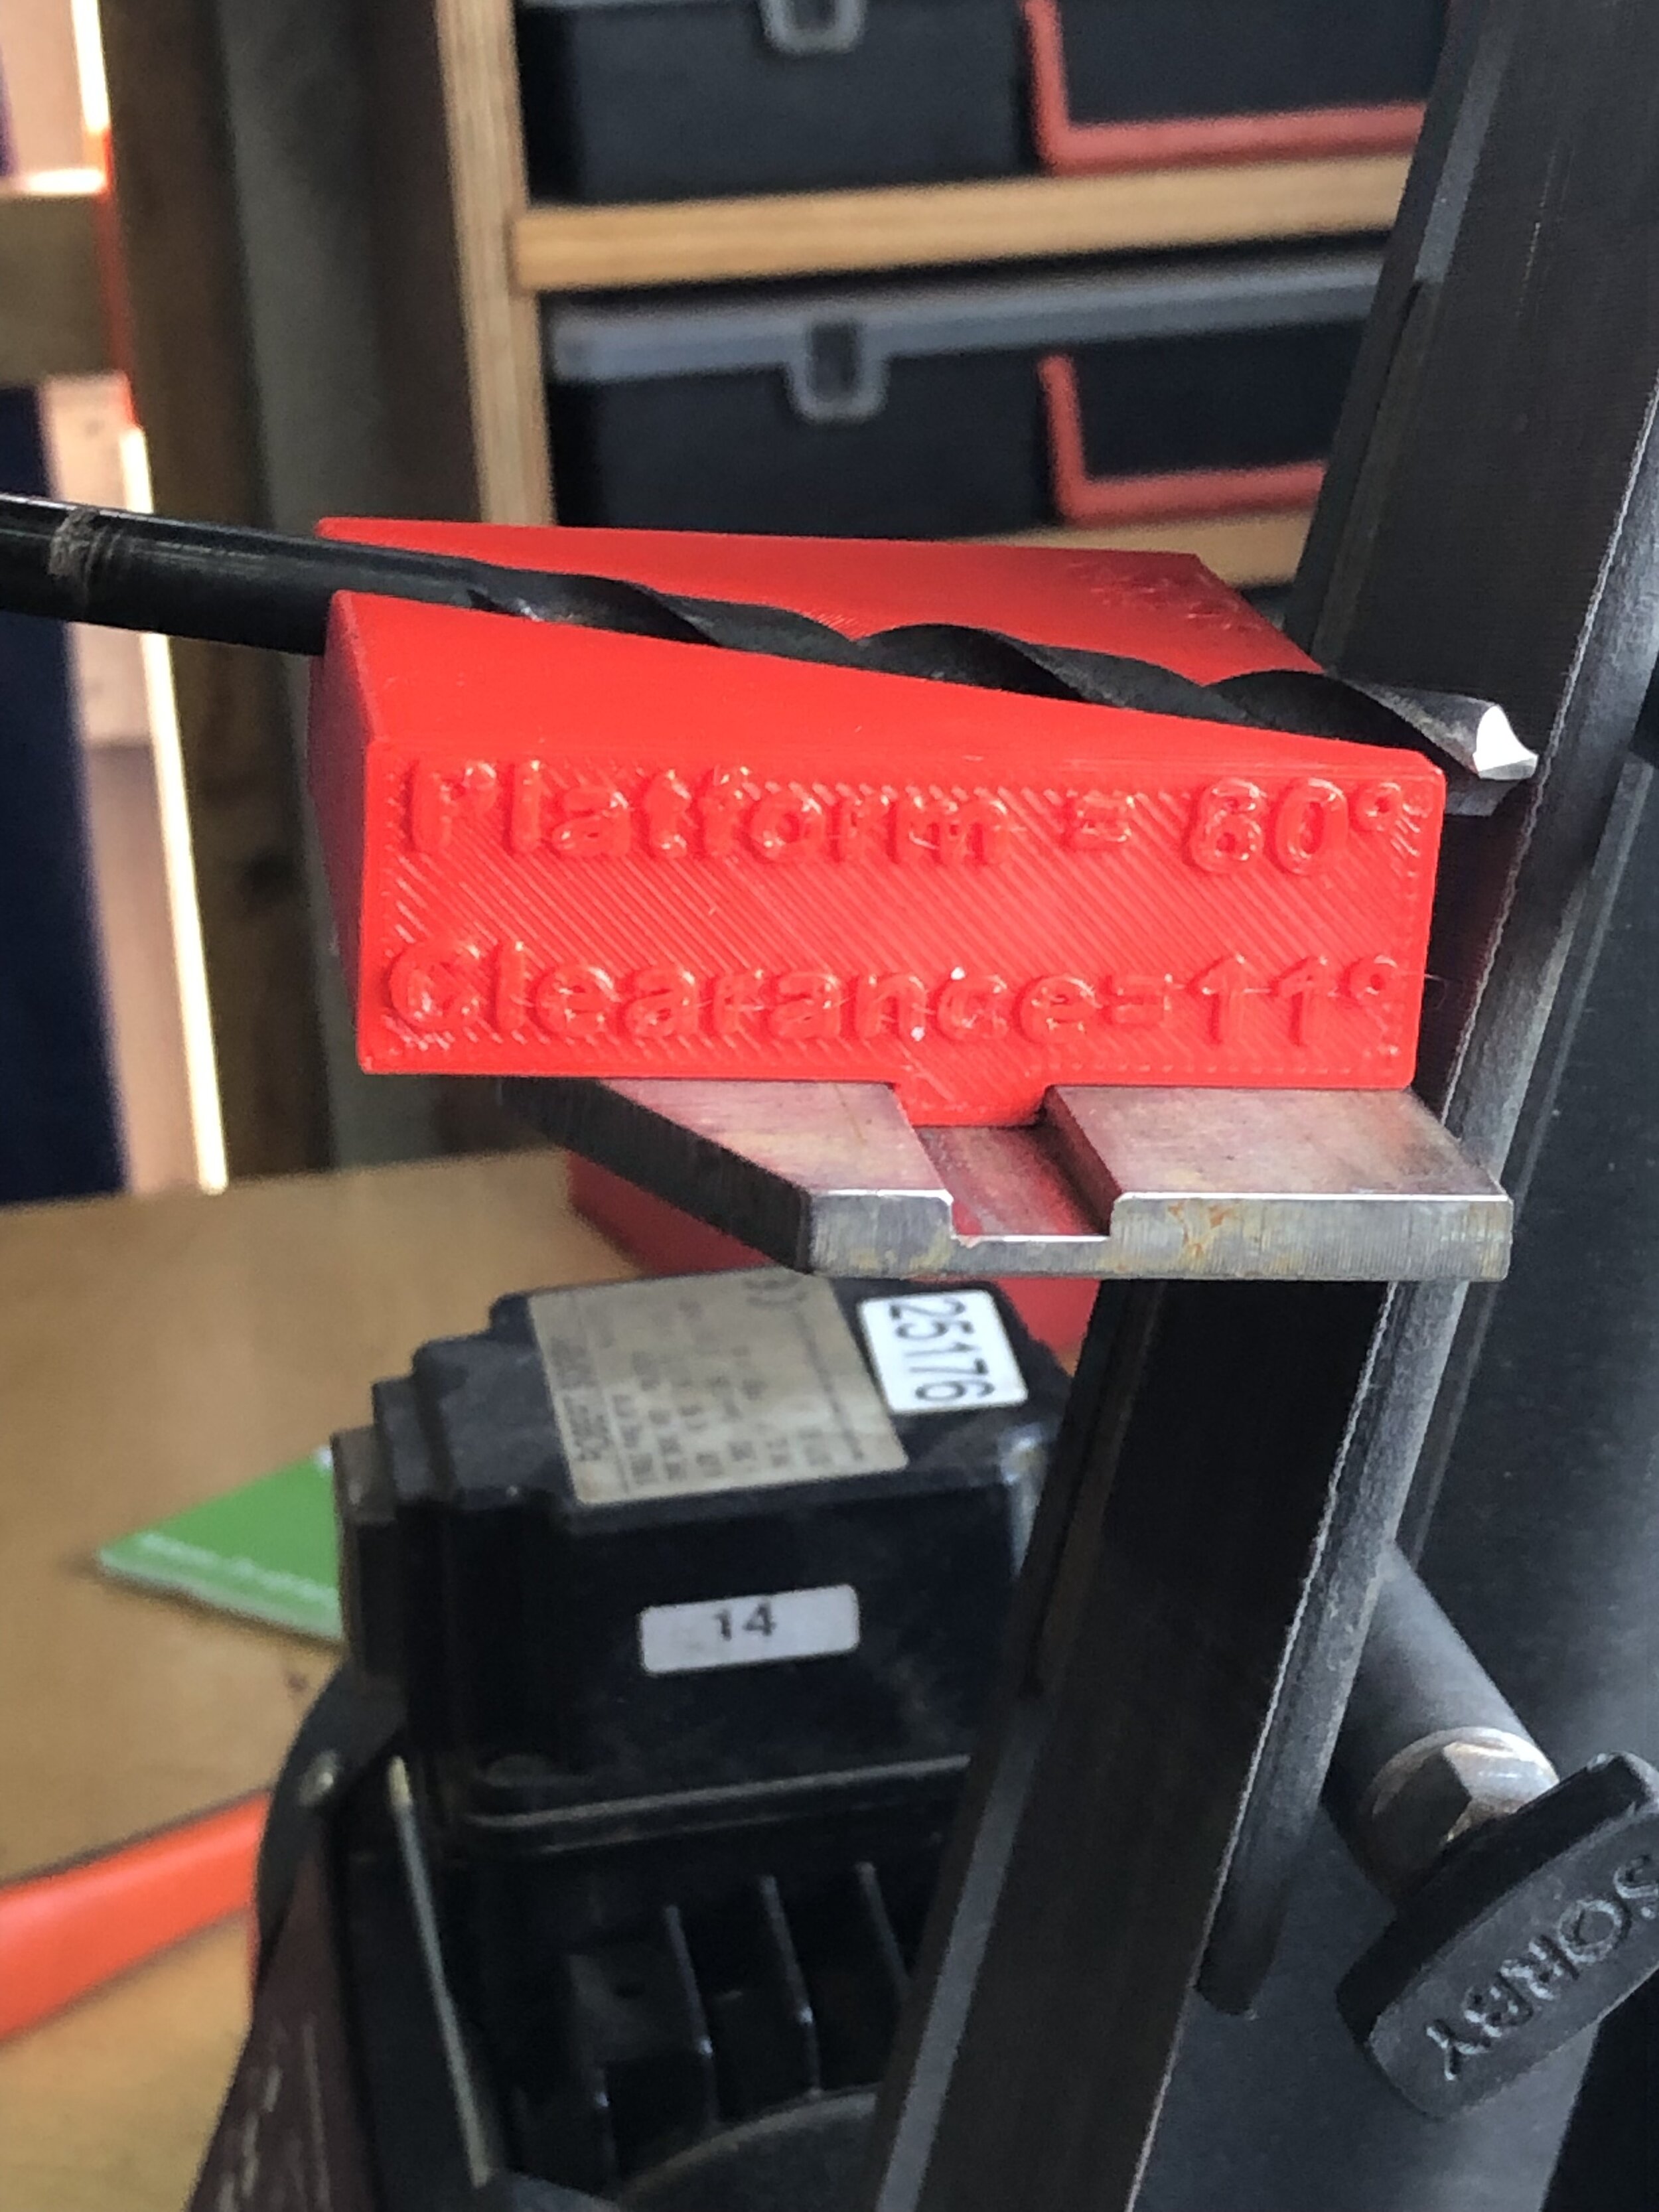
3D printed Sorby Proedge twist drill jigs
Another idea that came to mind was a way to sharpen drills accurately and quickly. This is fundamentally a simple thing todo but most solutions suck. The Tormek jig is one of the best I have used so i took a wee bit of inspiration from this.
For a drill you need to get two fundamental angle correct. The clearance angle and the tip angle. The tip angle is 95% of the time 118º where as the clearance angle varies with material and drill size. The Tormek jib adjusts to cater to give almost any angle you could want.
3D printing being a relatively cheap and quick process means i can produce a jig for each type of drill i want to sharpen.
All the jigs holds the drill at 59º to the belt (half of 118º) and then using the standard Sorby adjustable table at 80º the jigs can give 14º, 11º 9º or 7º as a primary cutting face.
It is up to the operator to ensure the two cutting faces are of an equal length as well as keeping the cutting edge at 90º to the belt to give the correct grinds.
Because the table is adjustable with the Sorby it is also possible to put a secondary grind on the drills.
Below is the method i use where I do the secondary grind first to save too much changing of belts etc. This isn’t set in stone so do whatever suits you needs
These guides are for sale HERE

Step 1
First find your drill and work out what clearance angle you want based on size, material etc.

Step 2
Find a suitable wax based lubricant for the bottom of the guide. I find Ikea SIINLIG to be just the right balance between lubricating properties and scent.
Cover liberally to ensure smooth operation.
You may need to trim any elephants foot from the print to get best operation

Step 3
Set the tool rest to 60º for the secondary grind

Step 4
Set the drill in the guide so the cutting face is at 90º to the belt.
Start with a reasonably coarse belt

Step 5
Grind the drill on both cutting edges trying to keep the tip centrally. This is down to operator skill as there is no stop.

Step 6
Secondary grind complete. DON’T use the drill yet
Step 7
Set the toolrest to 80º
Step 8
Change down to a finer grit and carefully grind the primary face. This needs a tiny amount of grinding so be careful
How these guides work is they have a slight angle on the Vee for the drill. So for the 11º clearance on it has a 1º angle. So you get 10º from the toolrest plus 1º from the guide which gives you the 11º
The 9º one has a negative 1º angle which is 10º minus 1º to give you 9º

Step 9
The finished drill, now go make some holes