Slitting knife jig
Visiting an Aberdeen mattress factory a few weeks back to sharpen their scissors presented me with a new challenge. They have a somewhat elderly machine that cuts fabrics into strips. It has 6 inch spinning blades with a knife edge and very few people can sharpen them.

There are proper jigs but they are a bit pricey and aren’t justifiable for one customer. Rather then turn the work down I put on my Barras 3D hat and designed a jig to let me sharpening these accurately.
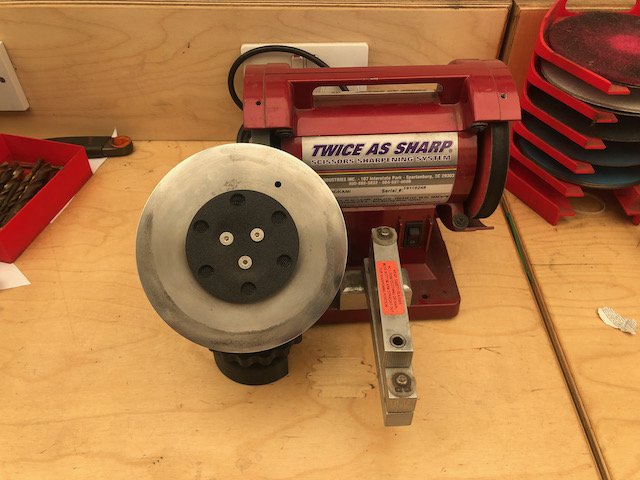
For any sharpening jig you have to find a way to alter the angle that is produced. The usual way todo this is to have the mount for whatever is being sharpened be adjustable around a central axis so that the angle the work piece meets the grinding wheel can be altered. Most of these jigs assume you will be working at the same height on the grinding wheel. There is another way to tackle this. As I had decided to use the TAS I knew the grinding wheel would be vertical and if you change the height at where the work piece and the grinding wheel meet then you would change the tangent on the wheel. This allows you to give some limited adjustment on the final angle. But you have to assume a few things.

After waving a wet finger in the air using CAD i came up with a few basic numbers. This also took into account that the TAS has guards which can’t be removed as well as a big footprint.
Then after that i have a few issues to solve
A way to hold the disc securely but to let it spin.
A way to spin the disc
A height adjustment.

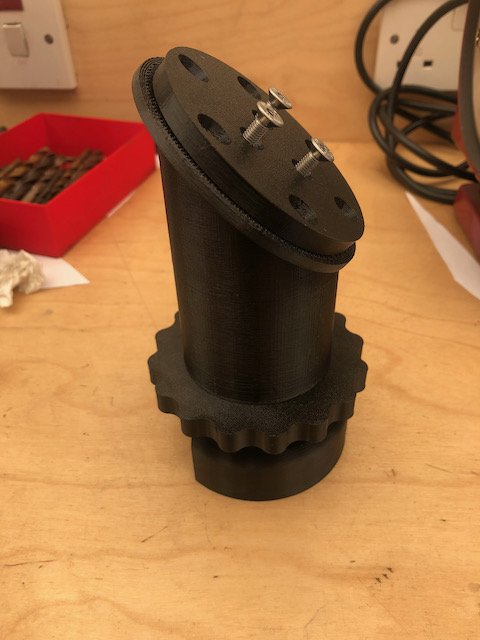
The solution was a 3D printed hub which fitted into the inner of the blade. The blade is clamped to this with cover piece which has 3 mounting screws. This cover piece also has a load of finger holes in it to let you spin the disc. The hub then pushes fits into two bearings which where selected from some left overs from another project.
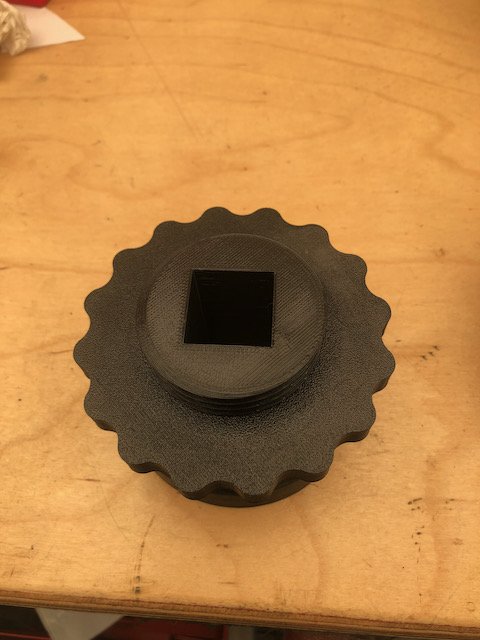
The bearings mount into an angled top piece which sits onto a base piece which is threaded with a large nut. Adjusting the nut up or down changes the tangents which in turn alters the grind angle.
The top piece has a square which locates into the base to stop the top from spinning.
The base also has a cutout to let it clear the TAS base.
The parts are all then 3 printed in PETG on the Prusa I3 Mk3
Overall it works quite well on the one sample disc i have. After grindering it is then polished and de-burred on the buffer using a hard felt wheel which results in a razor sharp finish